Miscellaneous smaller projects
Intro:
I haven't done that
many large projects. Certainly, time and money are my main
limiting factors. I do, however, do the occasional small
project when
I'm home from the dorm for a day, or a weekend. Here's a few
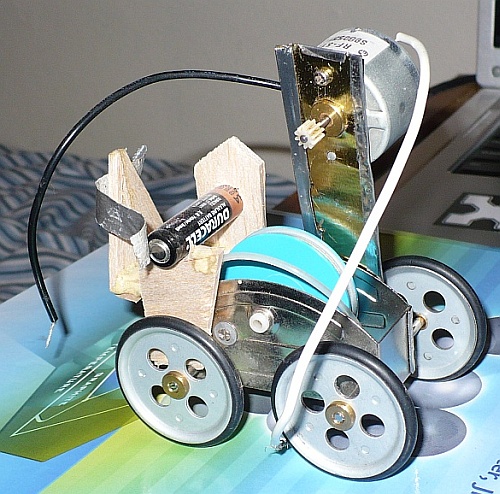
that I've taken the time to document.Motorized toy car:
Originally,
this toy car was a birthday gift from a friend. One starts the toy
rolling and the momentum
of the large blue wheel in the middle keeps it rolling quite a
distance. I attached a small motor that I salvaged from some forgotten
thing with a piece of
aluminum from a can that I riveted to the car. With a
rubber-ish pulley band, the motor's shaft drives the large blue wheel.
I glued on a few pieces of balsa wood to create a snug holder
for a
the 9V battery (apparently missing from the above picture).Ultimately, it's a very simple creation, but it's fun to hook up and watch it roll when I need a break from more serious things. The gearing ratio makes it good at climbing and then tipping itself. It's got lots of sentimental value since it's one of my first 'hacks.'
Painting with tape –
cellphones:
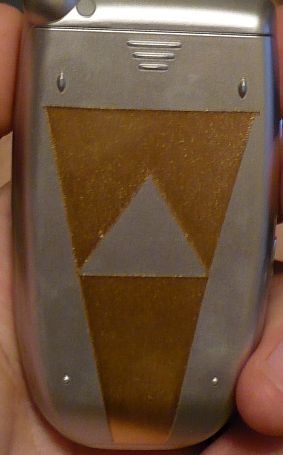
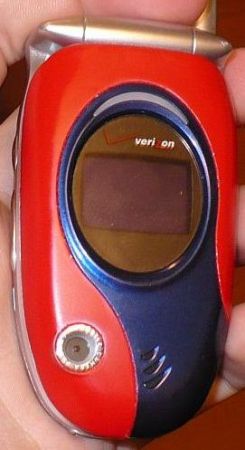
I got this idea from Chris
on the solar car team. When bored, simply find an object, put
tape on some parts of it, and spray!The left one was my first phone. It died about a month and a half after going through complete laundry and dryer cycles. Oops. The one on the right was the inferior replacement phone. I put tape over the blue part (and camera/screen) trimmed along the already extant groove, and spraypainted that.
In both cases, the paint slowly rubbed off... Haven't bothered with my current cellphone - it looks fine as-is.
LED light:
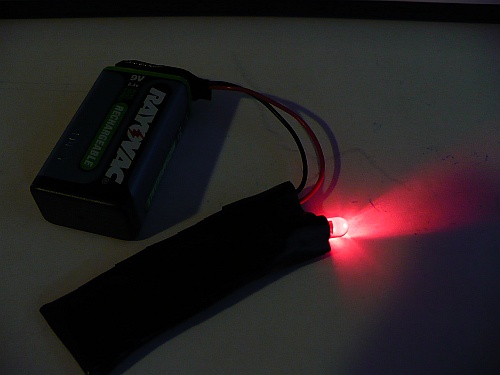
This little creation was created due, sort of, to laziness. I
needed some sort of LED light for my MSE 350 class when we covered the
subject of x-ray diffraction. The always perky professor
insisted we could find such a thing for free at the career fair. Not
really wanting to take the time to find what would likely
be very elusive, I figured I could build my own.This light comprises an old red LED from my dad's small collection of neat electronics, a 120 ohm resistor that I salvaged from an old radio, an old 9V battery snap, and a rechargeable NiMH 9V batteries. I initially tried several other resistors of higher resistance – calculations said I needed around 250 ohms – but that didn't give me a particularly bright LED. Once I had the wiring and soldering done (I had to solder directly to the resistor as one of it's leads was so short), I wrapped the wiring and a back-board of plastic in black electrical tape to hide my sloppy electrical work...
Surface mount LEDs
and regular LEDs:
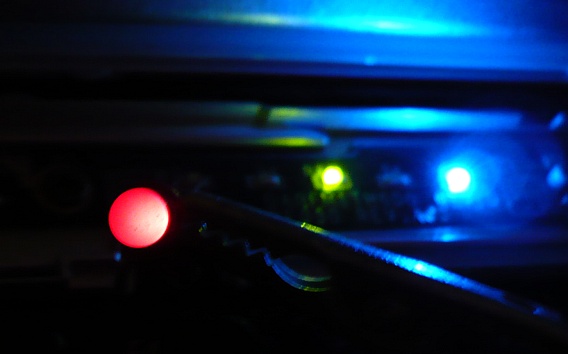
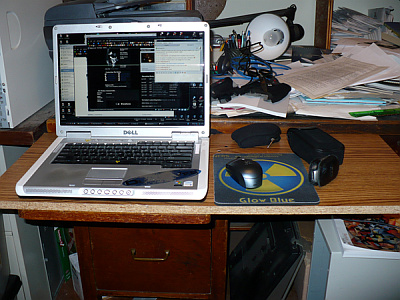
When I initallly got my Dell Inspiron E1505, I had a definite
preference for the blue LEDs over the green LEDs which were both on my
laptop. Prying off the plastic panel 'above' the keyboard was
my first exposure to the idea of Surface
Mount LEDs. I found that I could put a regular
red LED's wires across the terminals of these SM LEDs. Voila,
tri-color illumination in the picture.I also played around with putting small pieces of color paper on the plastic panel, yielding other shades of light. With red and purple paper, one can make the blue LED's light purple, pink light with just red paper, and orange light with red paper on the green LEDs.
I still toy with the idea of replacing all the LEDs with blue or white or some such. I've got the LEDs for the job, but am wary of likely snafus. Blue/white LEDs generally use different voltages and currents than red/yellow/orange/green LEDs, however. There's also the issue, for me, of soldering such tiny components.
Update: At one point I actually broke the LED for the Numlock indicator. Subsequently, I had a friend attempt, and succeed at removing the remains and then soldering on one of the blue ones I had bought. It's actually brighter than the blue LED for the bluetooth indicator. Kudos to Eric Wustrow for that work!
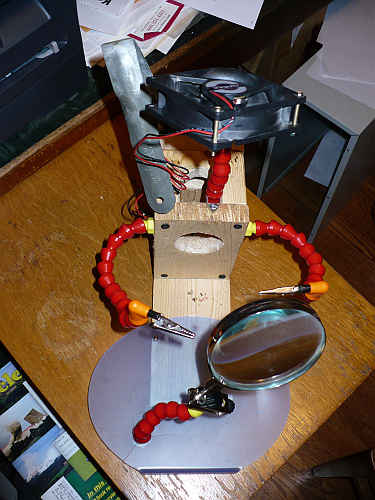
Combination Dremel
stand and third hand:
Furnishing one's "workshop" is a manly pursuit. One can have
fun and save some money by creating some furnishings oneself. The
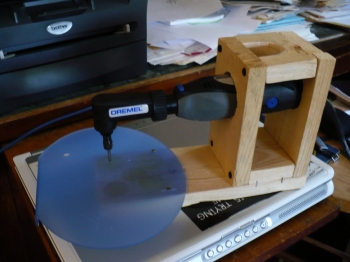
above combines both a dremel mount, ideal for engraving with said
dremel, and a third hand for holding wires and such as I solder them.I got the idea for the alternative third hand from Instructables.com. I subsequently had my brother get me the necessary coolant hose pieces from Enco.com as a last minute Christmas gift. Said coolant hose is normally used on metal-machining setups such as lathes, saws and mills. The magnifying glass proved to not be useful for the work I do. The computer case fan draws the soldering fumes away from me a bit. If I were serious about avoiding the fumes, I'd put an air filter on there too.
The dremel mount is probably best for engraving. For some tasks, dremel work is more accurate if I move the object around a fixed dremel, rather than dremeling a fixed object.
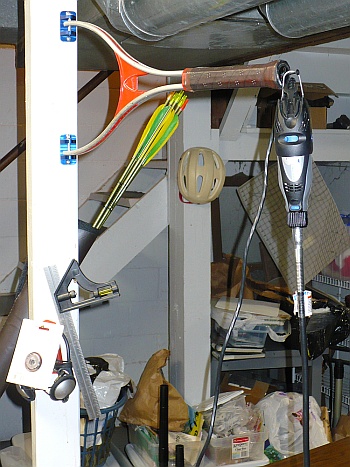
Hanging Dremel Mount:
Another custom furnishing. Dremel sells a flexible extender
with a small and easy to control endpiece. You're supposed to
have the dremel hanging from a height when using it with the extender.
Dremel also sells a stand for this purpose.... But the stand takes
up table space.So instead, I chopped up a tennis racket, mounted it to two brackets and mounted that to a conveniently located wood support column. When not using this, I can simply swing it to the side of the table. (Also, I run the power cord through the tennis racket, so that's not in the way now.) Nice and simple.
Temporary Laptop Desk Bench:
This is a quick piece of work I made on a whim. It slides snugly onto
the small plank that slides out of a
huge desk in the computer room). You can see said "plank" in
both pictures of the dremel stand/third hand. It's wide
enough for my laptop and nothing else.Solution is a nice piece of veneered plywood with blocks and rope on the underside. (Note to self: get picture of underside)
Stereo Volume Attenuator:
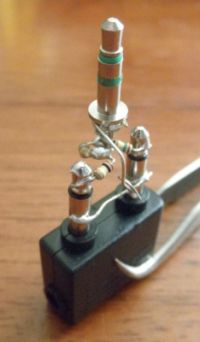
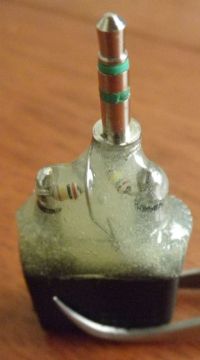
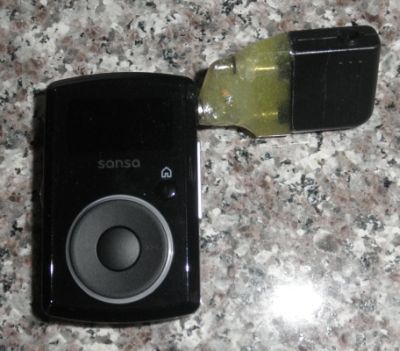
The current DAI cables (see related here) I have in my posession lack the in-line resistance of 270-330kOhm. The result is that for most audio sources, anything but the lowest volume is too loud for listening. To work around this, I used a Mono/Mono-to-stereo adapter (the sort handed out on airplanes), a spare 3.5mm TRS plug, and a few resistors.
I soldered the adapter grounds to the TRS plug's ground, then soldered resistors between the respective left and right channels. This was then covered in a few batches of epoxy (with packing tape acting as a form for the epoxy), and voila. It is rather bulky, however.
Serial Port Bracket for Motherboard Header:
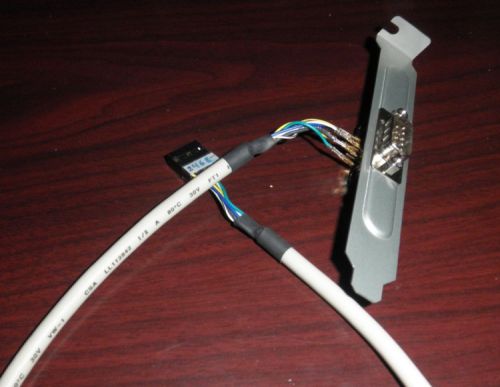
My desktop's motherboard includes header pins for a serial port. The
manual for the board suggests using something like this Serial
Port Slot Plate Adapter... but I already had the necessary
components and a dremel.USB Header Adapter:
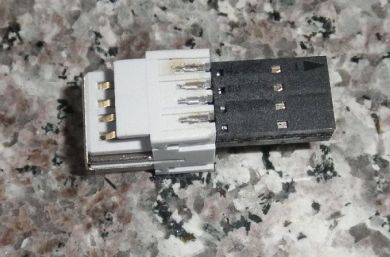
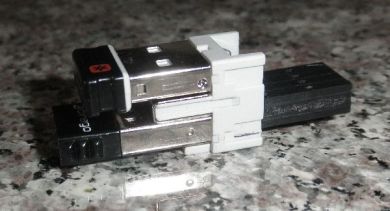
I had a USB to Car Power adapter that had stopped working ($20 POS from Radioshack lasted 3 months ... ). Obviously at first I tried to determine if I could repair it. Unlike a hard drive full of data, it wasn't worth the effort. Continuing my desire to add to the capabilities of my computer, I salvaged the usb ports to make an adapter for some spare header pins on the motherboard. You can buy these, e.g. this one. It allows me to mount two USB devices within the computer case – for example: the receiver for my mouse and a bluetooth USB dongle.
The actual work involved: (1) desoldering the connector from the original adapter; (2) bending the flat pins to the orientation desired; (3) soldering the pins to female header pins; (4) placing the 8 female header pins into two 4-pin connectors; and (5) using the soldering iron to fuse plastic parts together (You can see the fused plastic in the second picture).
Audio Jack Block:
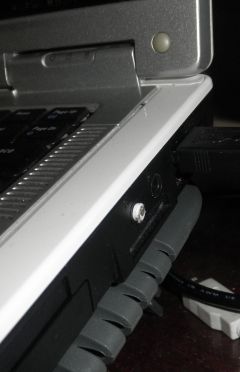
Setting up a laptop in the middle of class might not be super polite,
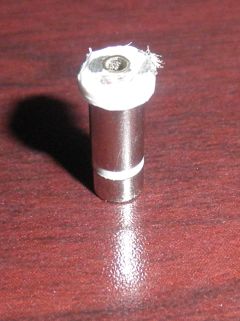
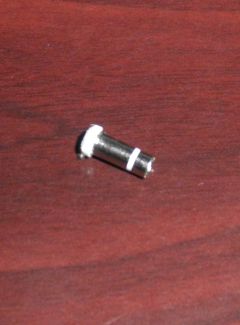
but it's worse if the laptop makes noise too. I keep this tiny
thing in my laptop's audio-out jack at all times. it's just a
typical TRS connector from a pair of iPod earbuds that I dremeled down
to a low profile (this resulted in the tip falling out, but that's
ok). It's small enough that it doesn't interfere with putting my
laptop into it's carrying bag. (Relatedly, this is why I will insist
that future laptop purchases have some USB ports on the back, rather
than sides.)Keyboard LED swap:
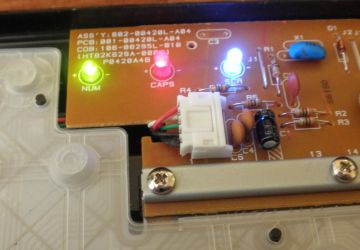
I had observed that I had the correct size LEDs of different colors
sitting around, and so replaced the Scroll Lock and Caps Lock
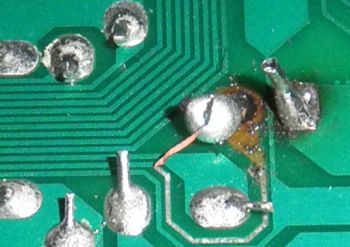
indicators with red and blue LEDs, respectively. I ran into a problem
where I accidently detached one of the traces from the PCB. Since the
trace was for the positive end of the LED, I couldn't just bridge the
grounds together (which might or might not have worked). Instead I
carefully peeled the trace off and embedded its end in a blob of
solder, and everything worked.-6-12-12

