
Computer Aided Drafting programs are
perhaps the
most awesome of
computer applications.
I've had the opportunity to mess around with the following programs: (in relatively chronological order)
By far my favorite to use is SolidWorks. It's the one I have the most experience with and it's a better GUI (especially mouse-wise) than the very similar Inventor. IntelliCAD was a free program that I messed around with when I first became interested in CAD (shortly after joing Pioneer's robotics team). AutoCAD and Inventor were first used in Drafting and CAD classes my senior year. I discovered Mike's Lego CAD (based off the LDraw LEGO parts package) when I needed something of the sort for a senior year class. I got Solidworks Student Version for free as a member of UM Solar Car Team. Likewise, I acquired NX4 and Hypermesh as a benefit of being on SCT too. The latter two I have almost no worthwhile experience with. The last one is a motion simulation tool. I've worked through a tutorial for it, but haven't had much time to play around with it.
And on to the pretty pictures!
I've had the opportunity to mess around with the following programs: (in relatively chronological order)
- IntelliCAD
- Autodesk AutoCAD
- Mike's Lego CAD
- Autodesk Inventor
- SolidWorks
- COSMOSWorks/Solidworks Analysis
- Unigraphics / NX 4
- Hypermesh 7 and 8
- ADAMS View
- Google SketchUp 6
- ANSYS
By far my favorite to use is SolidWorks. It's the one I have the most experience with and it's a better GUI (especially mouse-wise) than the very similar Inventor. IntelliCAD was a free program that I messed around with when I first became interested in CAD (shortly after joing Pioneer's robotics team). AutoCAD and Inventor were first used in Drafting and CAD classes my senior year. I discovered Mike's Lego CAD (based off the LDraw LEGO parts package) when I needed something of the sort for a senior year class. I got Solidworks Student Version for free as a member of UM Solar Car Team. Likewise, I acquired NX4 and Hypermesh as a benefit of being on SCT too. The latter two I have almost no worthwhile experience with. The last one is a motion simulation tool. I've worked through a tutorial for it, but haven't had much time to play around with it.
And on to the pretty pictures!
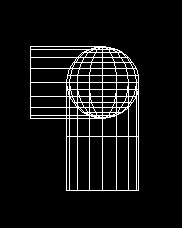
- Made with: IntelliCAD
- What it is: Two perpendicular cylinders joined at a sphere
- Made with: IntelliCAD
- What it is: A somewhat misproportioned model of fingernail clippers
 |
 |
 |
|
 |
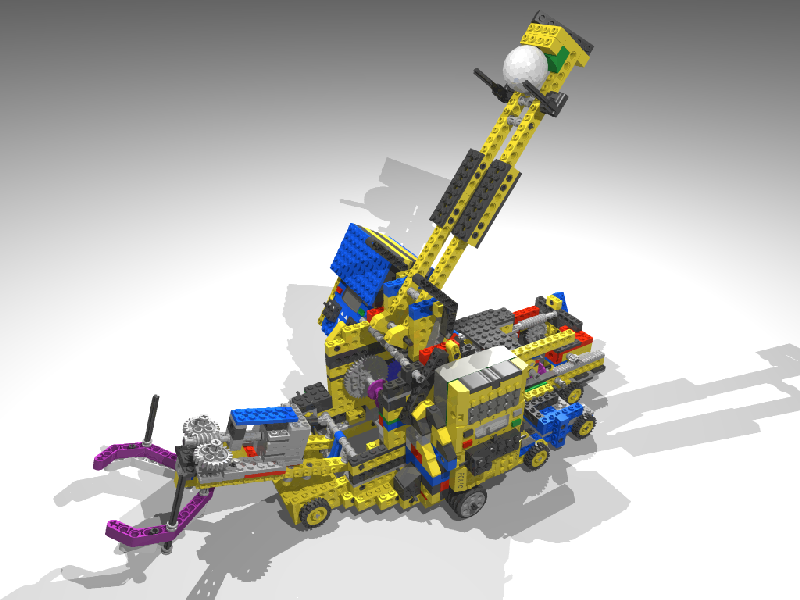 |
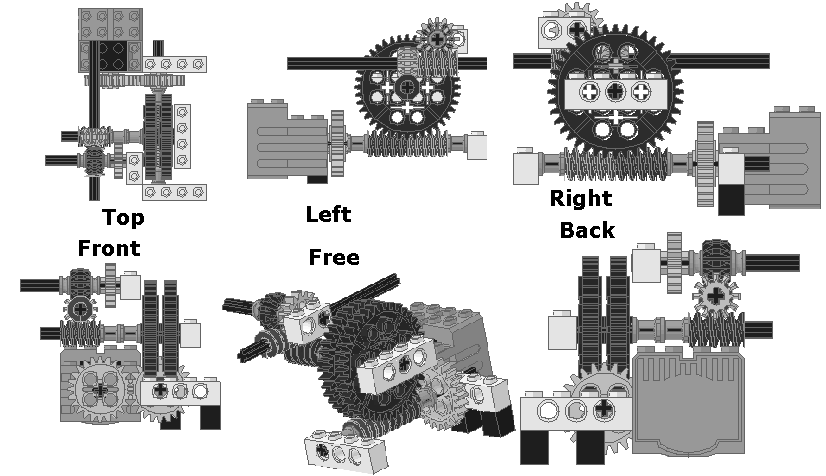
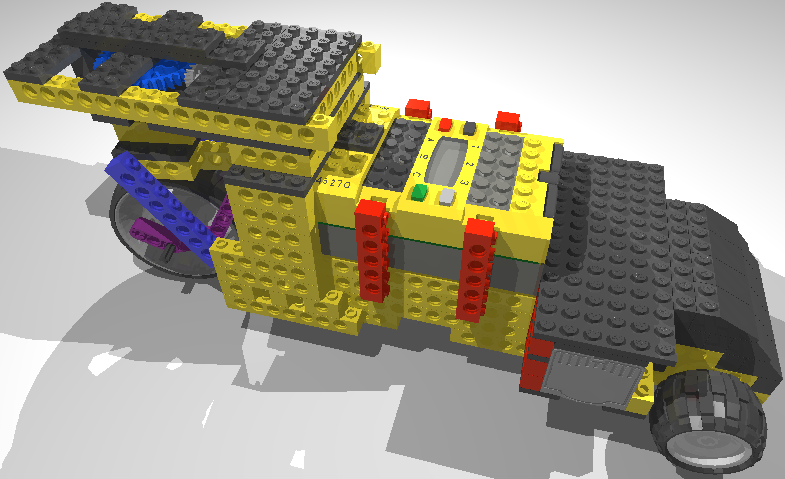
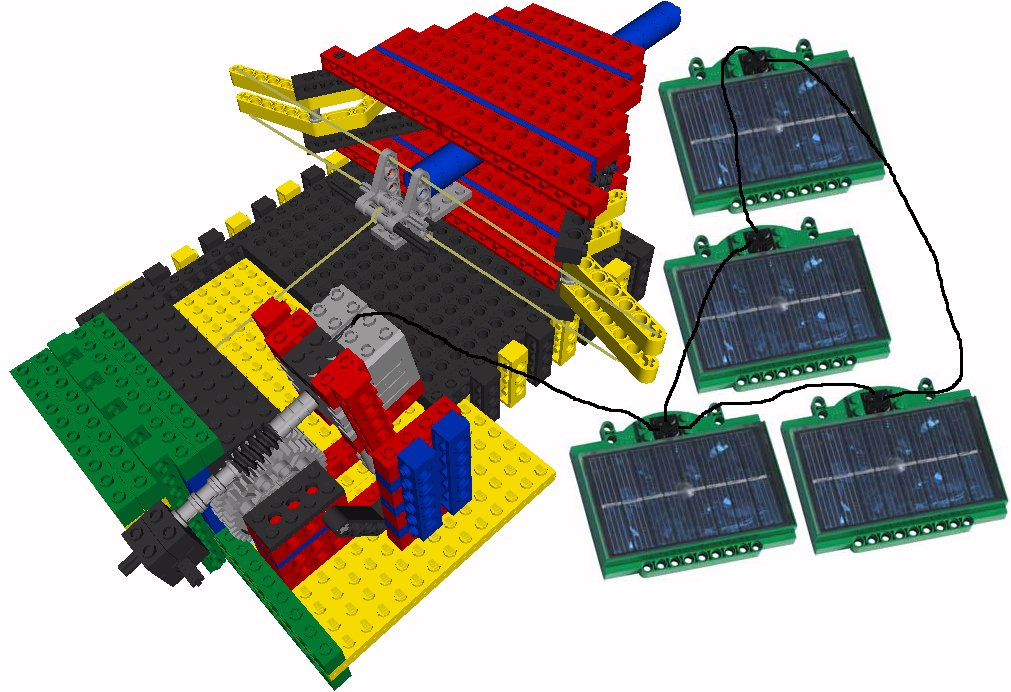
- Made with: MLCAD
- Rendered with: POVRay
- What these are:
CAD versions of "robots" that I built with Legos (during high school)
- Clockwise from top
right:
- A "lugging" robot. Walks forward and can turn. Running the motor in reverse, it still walks forward. Never figured out the dynamics of that one.
- A remotely controlled Lego catapult that picks up and throws golf balls. It has its own page of details.
- A Lego ballista, powered with four of Lego's ridiculously weak solar cells. Takes 5 minutes to pull back...
- A three wheel, front drive, rear steer "car." I was inspired by the Peugot 20Cup.
- A model of a gear system that was used in an early version of the catapult.
|
|
|
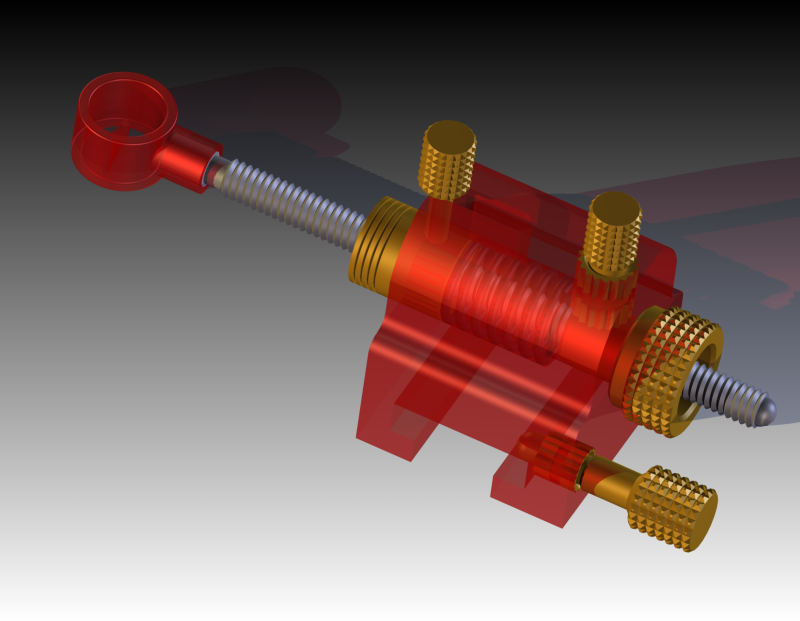
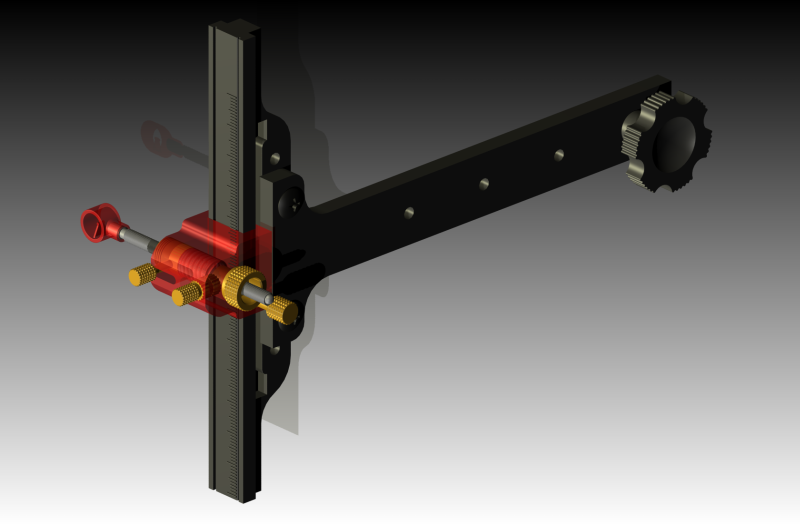
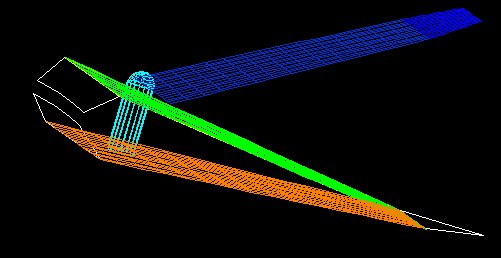
- Made and rendered with: Autodesk Inventor 9 and 10
- What this is: Two renders of CAD drawings of the sight that I use on my bow
|
|
|
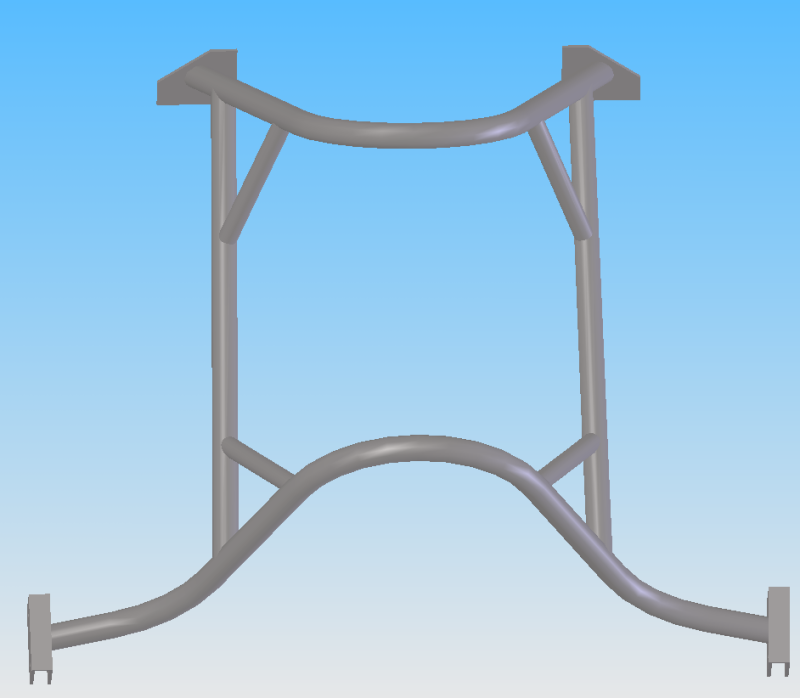
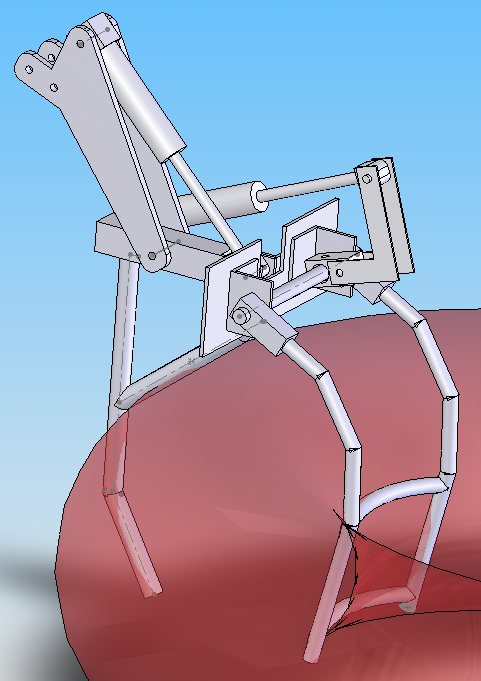
- Made with: SolidWorks
- What these are: A grabbing mechanism for grabbing torus shaped innertubes. Roll cage for a certain car ;)
The grabbing mechanism was designed for FIRST Robotics' 2007 game. The red object in the picture is a red torus shaped innertube, similar to what you might see at a pool. I designed this the evening and day after the 2007 game kickoff in early January. I designed the claw in such a manner that I could build it, if the design was approved. The claw would be actuated by two pneumatic cylinders (my model includes rough mockups). I tested the range of motion of the claw using SolidWorks Animator. It's never been built, but I'd love to do so, given the chance!
I designed FIRST team 1015's robot for 2008 completely in SolidWorks.... the actual robot didn't do very good at all.
Tons of solar car stuff I've never posted would go here...
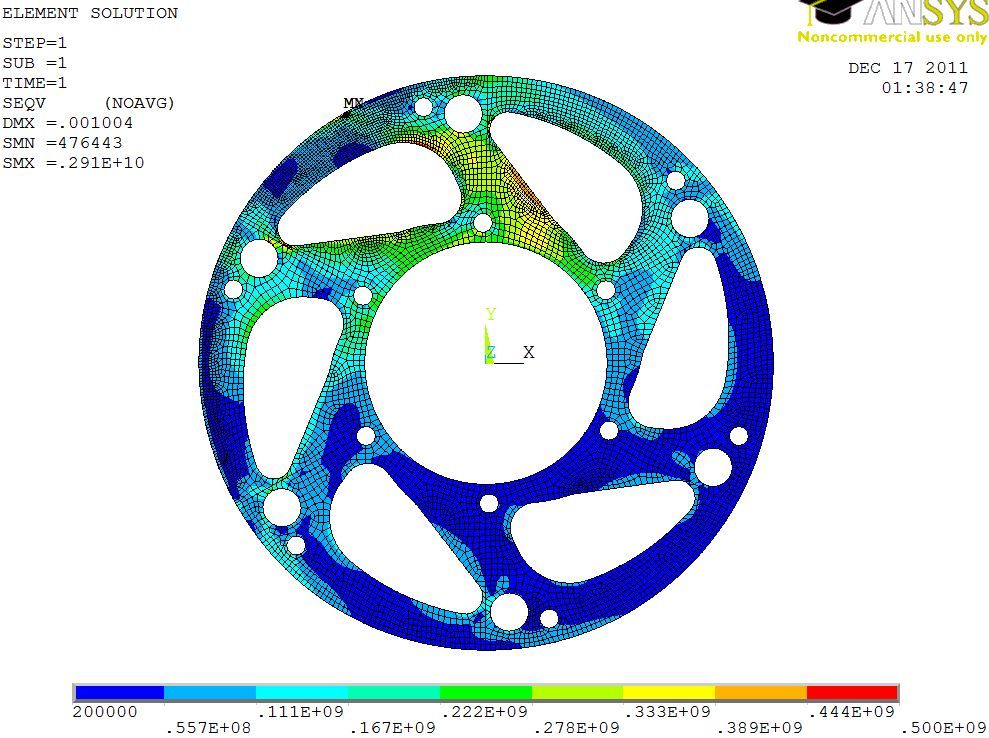
- Screenshot of a bicycle sprocket (sans teeth) design in ANSYS. The load from the chain is applied clockwise, and leaves the sprocket at the top edge.
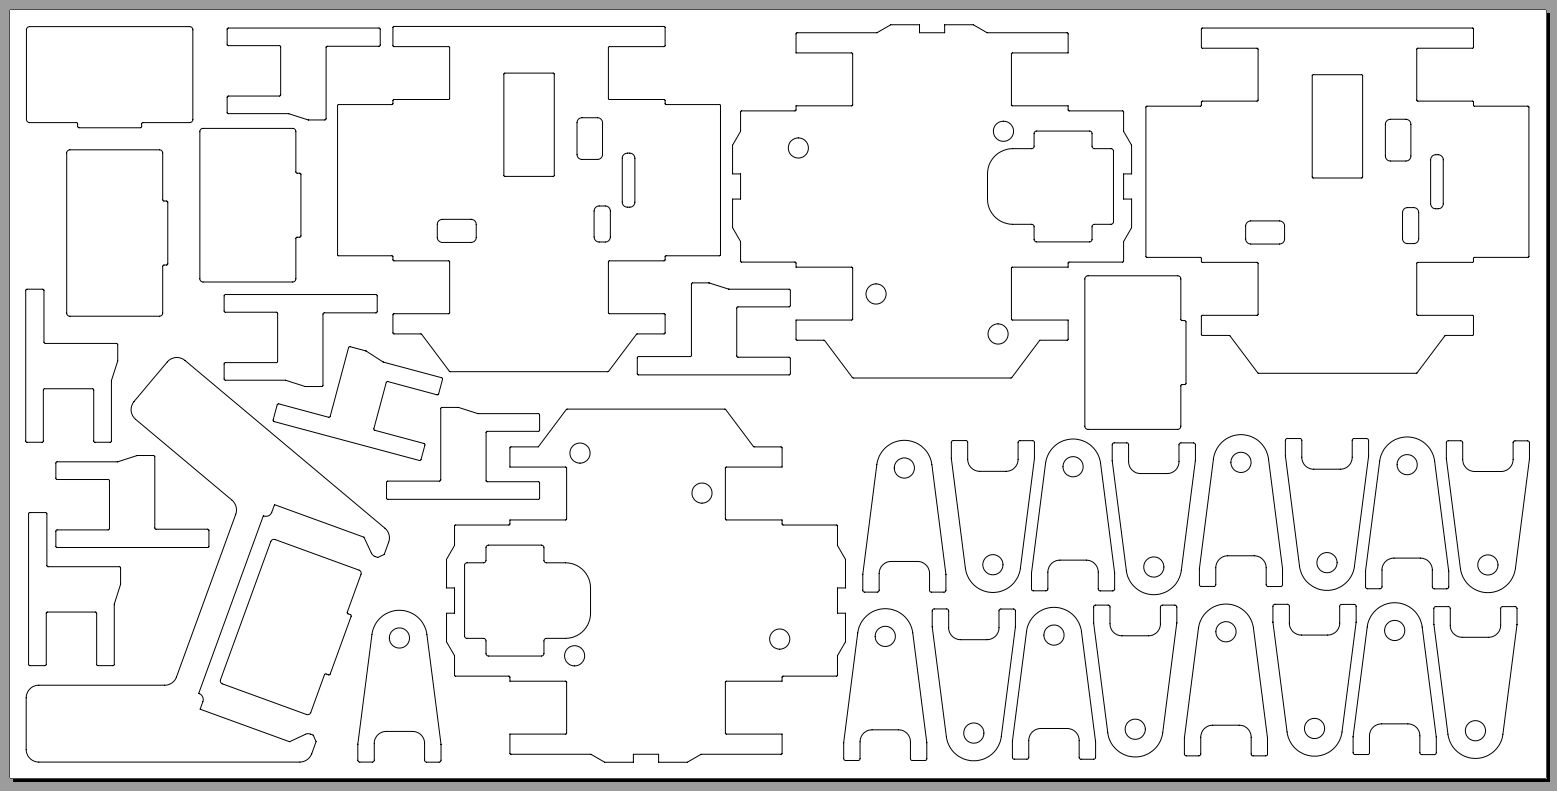
- A 2'x1' layout of 1/32" carbon fiber parts for Numa. These were cut by waterjet via BigBlueSaw. Designed in Solidworks, and the final product can be seen here.
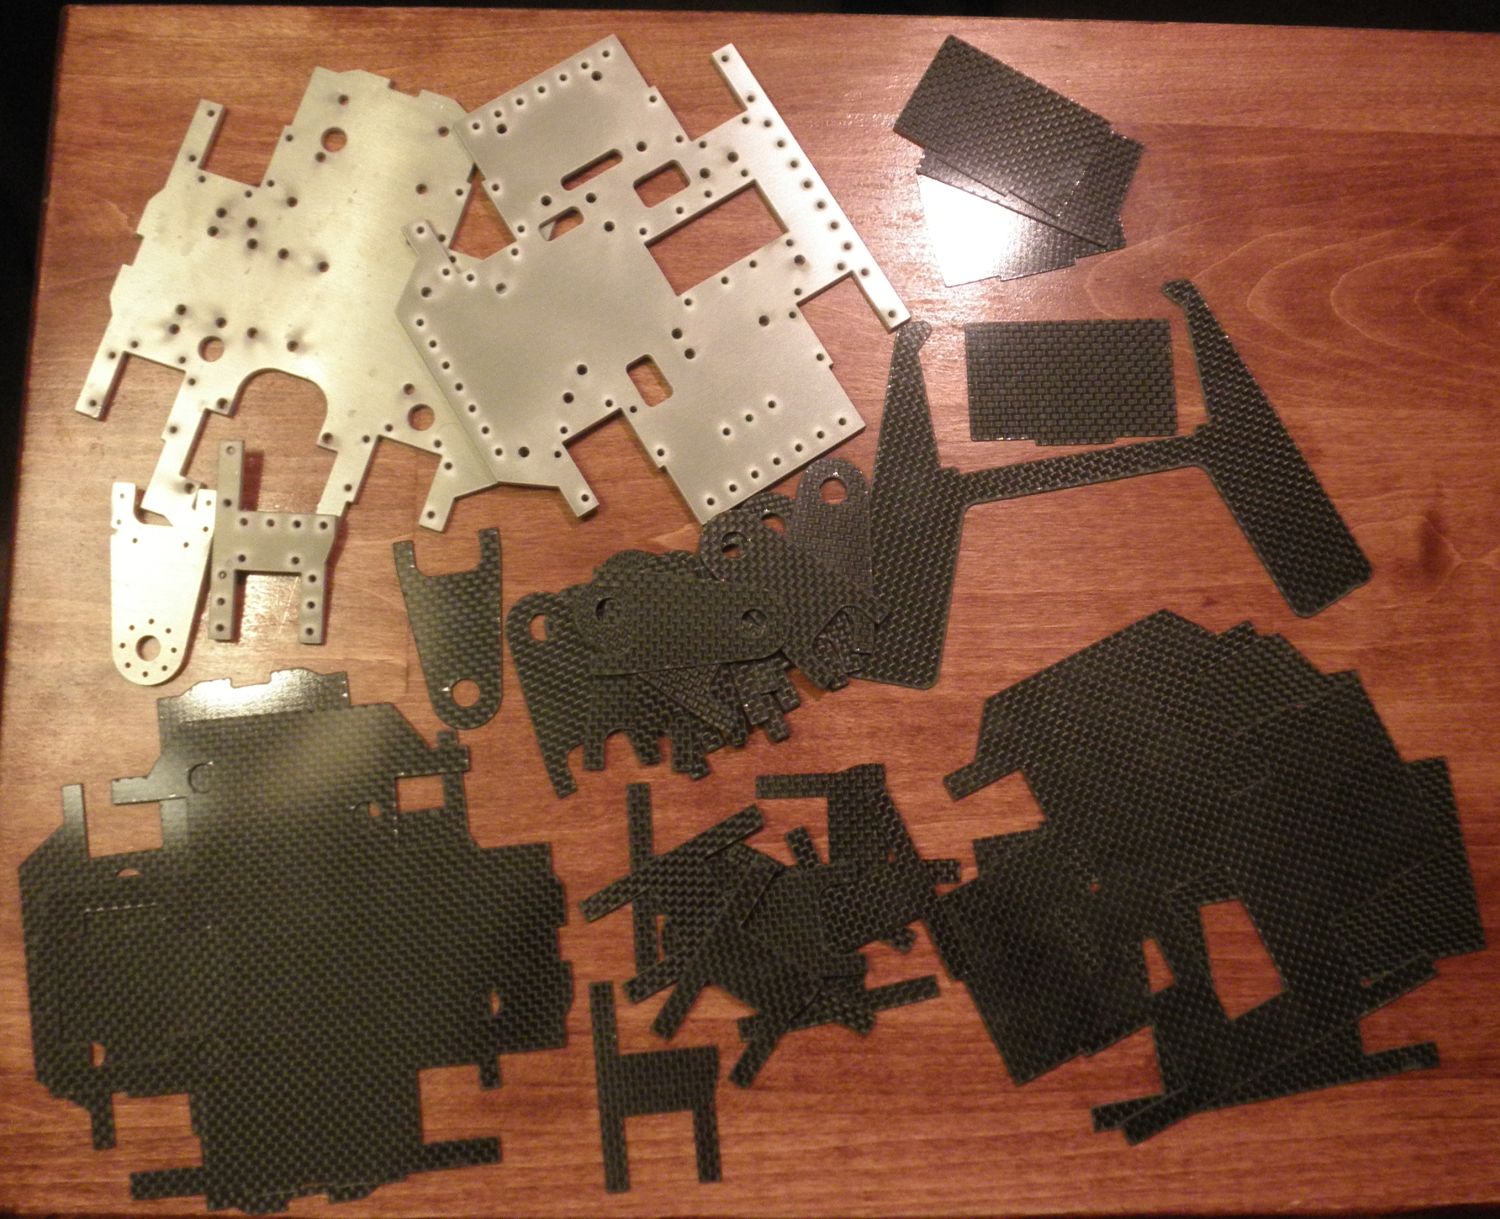
-6-12-12